With todays cameras it is relatively easy to take a good photo. Your ordinary digital camera or cell phone camera will do all the thinking for you just point
and shoot. If you want to take better pictures you can use a DSLR (Digital
Single-Lens Reflect) that will allow you to make some choices about how you
want your camera to act and your image to look.
and shoot. If you want to take better pictures you can use a DSLR (Digital
Single-Lens Reflect) that will allow you to make some choices about how you
want your camera to act and your image to look.
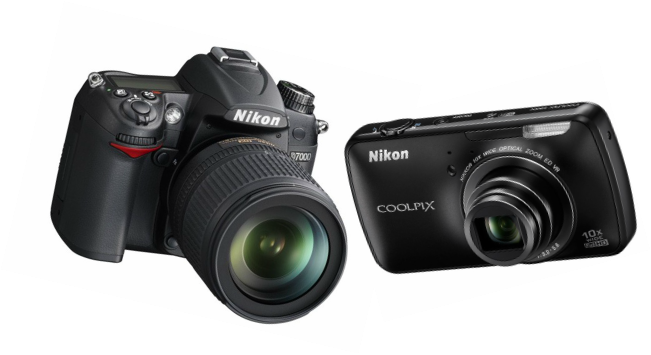
from www.engadget.com
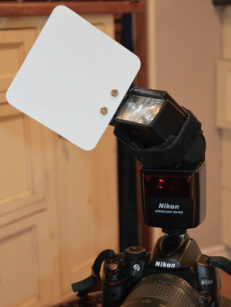
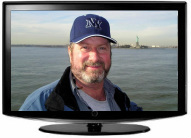
With both cameras we will find an electronic monitor to see what we are shooting. With the
DSLR we also have a small through the lens viewfinder that lets us a look through the lens with the use
of a moveable mirror. The viewfinder is great on those bright days when your monitor is hard to see.
The biggest difference between the two cameras are on a DSLR you have interchangeable lenses with many
more adjustments or choices to change the way our photos look.
Once we have determine what and where to shoot we have to make more options, such as how our lens will
use the available light, like how much and how fast we want it to enter the camera and how sensitive the sensor
is to the light landing on it. Most cameras can figure that out for you using their built in meters but as a
photographer you may want to make some of those decisions yourself to influence the look of your image.
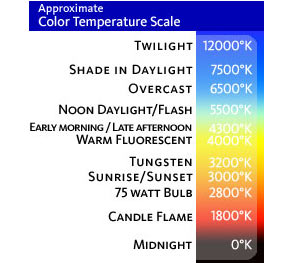
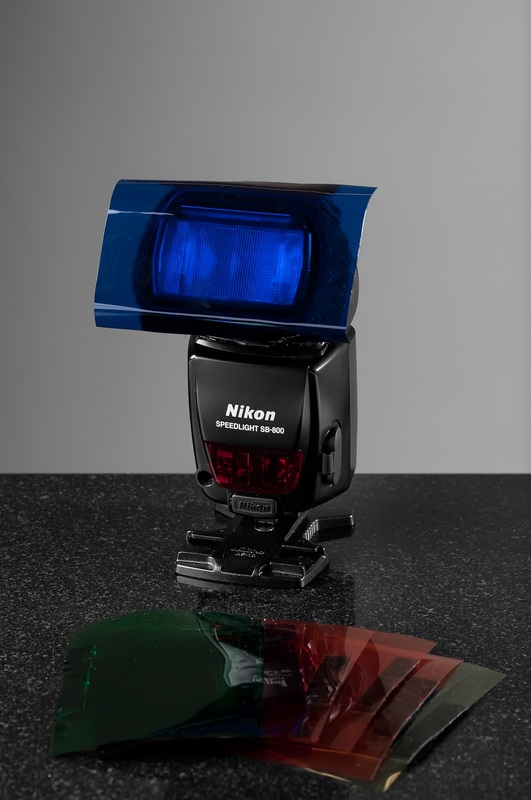
In my last blog we talked about lighting and how that effects your images. Now I want to tell you about using
that light and your ISO, Aperture and Shutter Speed controls to add new focus to your photos. The amount
and the speed light enters will change the way your image looks.
that light and your ISO, Aperture and Shutter Speed controls to add new focus to your photos. The amount
and the speed light enters will change the way your image looks.
ISO

ISO = International Organization of Standards
They set the standard used to measure the sensitivity of the digital image sensor in your camera. It digitally
reproduces the image you see through the lens of your camera. In film terms this was ASA film speed.
They set the standard used to measure the sensitivity of the digital image sensor in your camera. It digitally
reproduces the image you see through the lens of your camera. In film terms this was ASA film speed.
| ISO in my cameras range from 100 to over 6400, it is called speed but it is actually sensitivity. Depending on the amount of available light, your ISO setting will change how much light your camera needs to produce an image. The less light you have the higher your ISO setting needs to be. You can also choose to use Auto ISO and let your camera meter and pick the optimum ISO speed after you have made your other adjustments. | 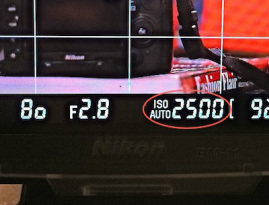
|
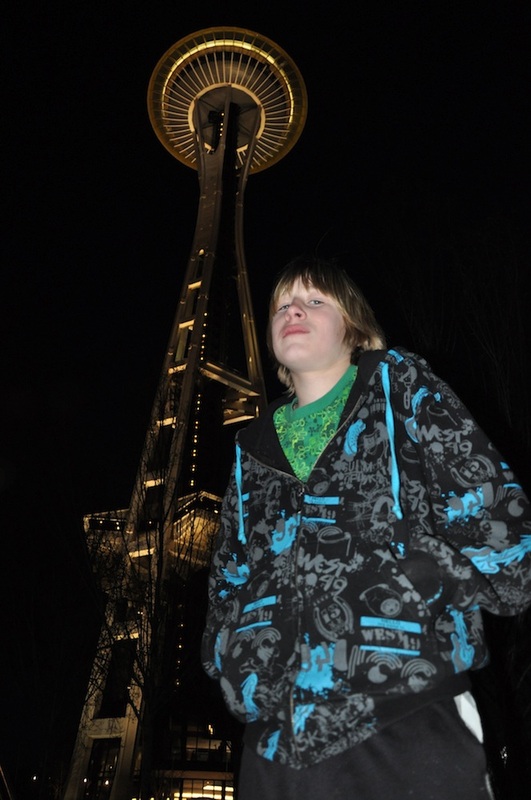
In bright daylight an ISO setting of 100-200 will suffice. Need to use a flash maybe 400 - 800 ISO will work.
In a dimly lit room no flash we might use 1600-3200 ISO. The darker it gets the higher the ISO needed, up to
6400+. Unfortunately as we make the sensor more sensitive we also add noise or grain to the images so we try
to use lower ISO speeds and add more light.
Aperture [A] and Shutter Speed [S] are the two controls we will look at next.
We need to decide how the light enters the lens to activate the image sensor. For this we use the
Aperture [A].
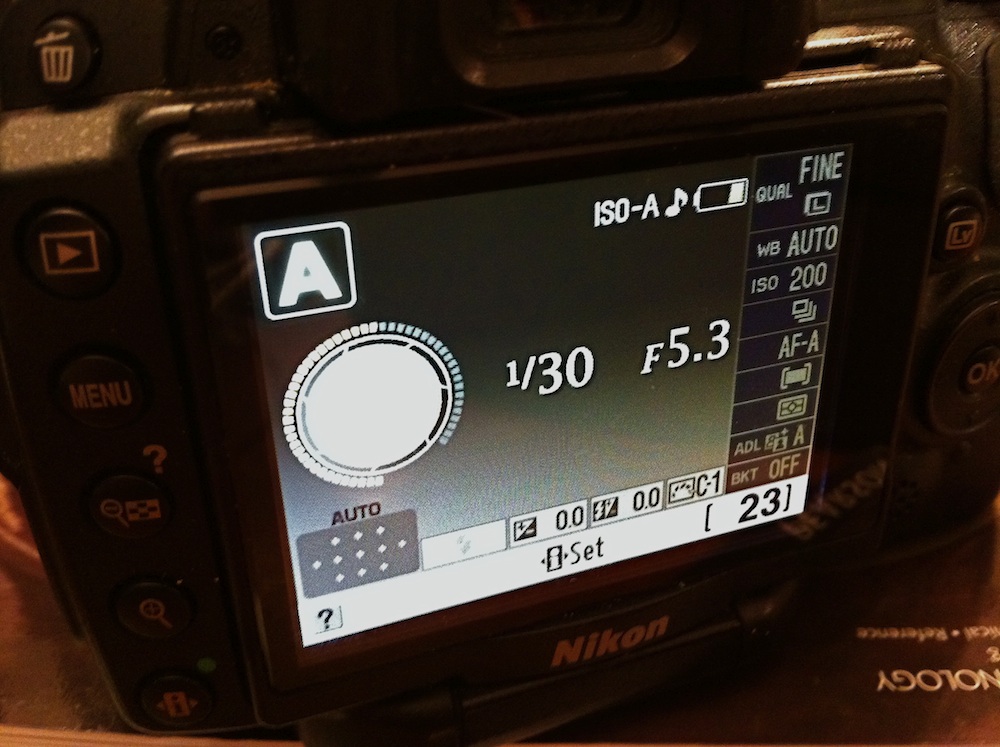
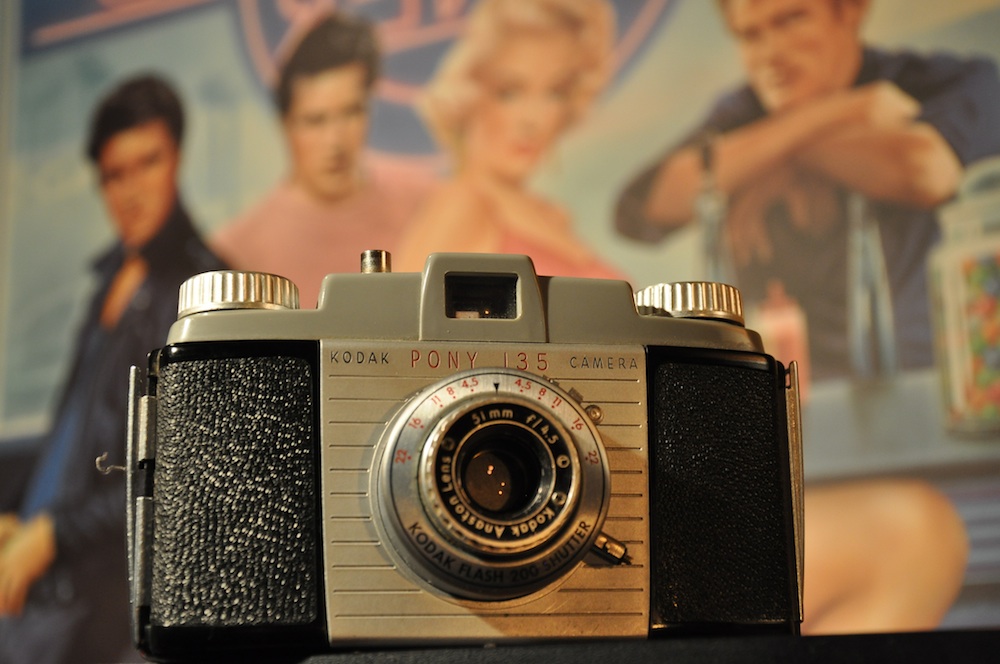
| It is the size of the opening in the lens, it is called an F-stop. Lenses have multiple F-stops. The smaller the f-stop number the larger the opening. On this lens an F-stop of F 5.3 is open wide while F 22 is the smallest opening. Other "faster" lenses open as much as F 1.2 they are better for low light shooting. | 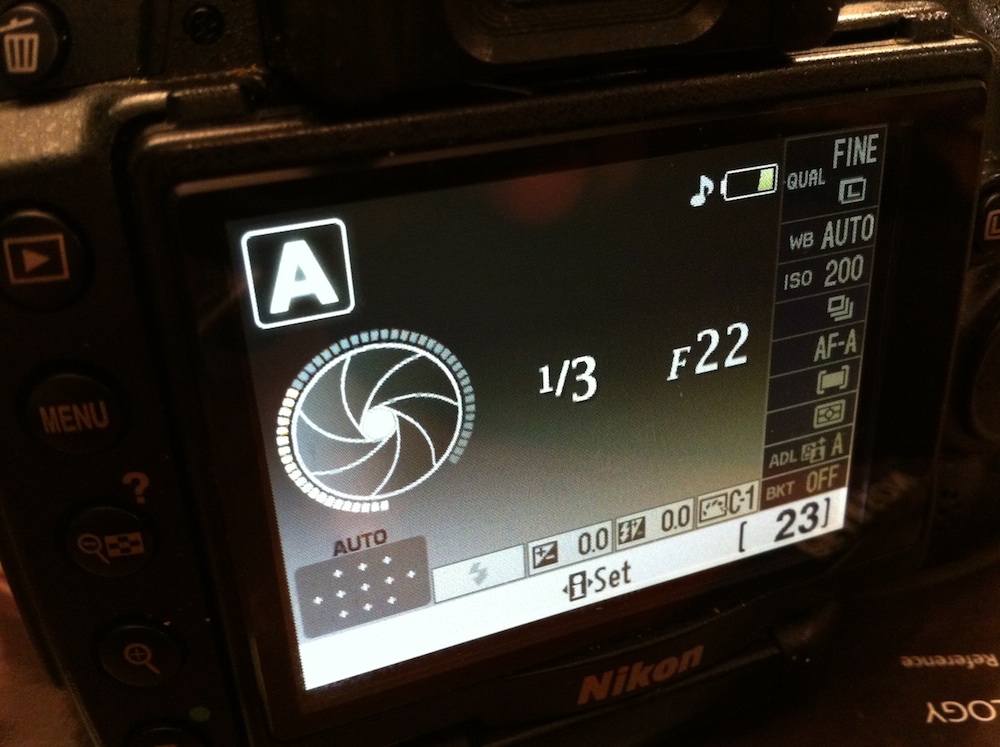
|
When the aperture is very small, the light entering is highly collimated, which means all the rays are parallel to each other. This results in a sharp focus for all the light that comes in. When the aperture is more open, only the rays which closely match the focus point are collimated — which means that whatever you've focused on is sharp, but farther or closer parts of the scene will be increasingly blurry.
In combination with ISO speed and aperture opening we need to know how long to leave the
aperture open for this is called
Shutter Speed [S].
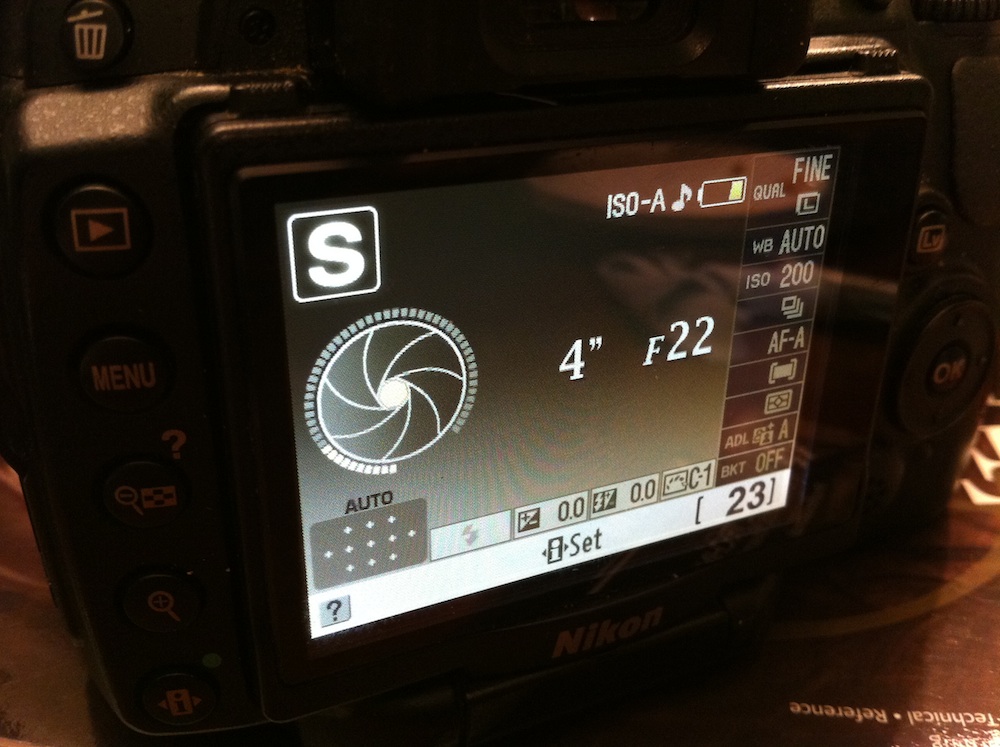
| This will dictate how long the light will have to enter the lens and hit the sensor. Shutter speed is measured in seconds or fractions of a second like 1/1000 sec or 30 sec. Here a small opening like F 22 needs the shutter open for 4 seconds. Wide open F 5.3 only needs to open the same shot can be taken in 1/20th of a second. | 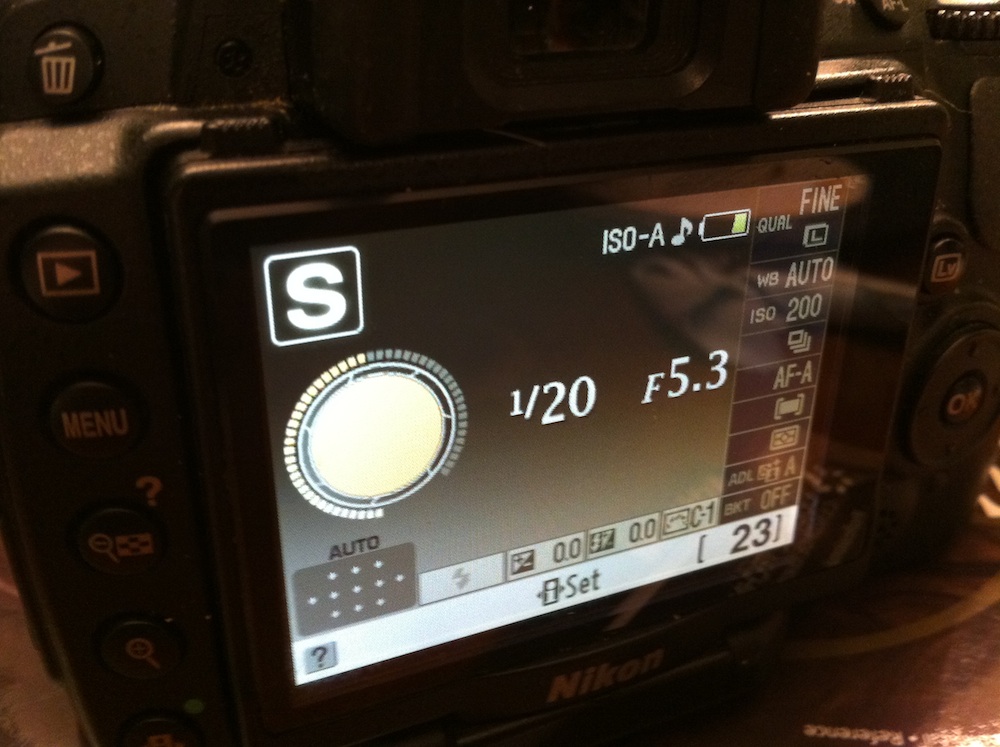
|
Shutter speed allows the impression of motion in an image. Slow shutter speed blurs fast motion, giving the impression of greater motion of the camera or subject. It can enhance the image by making athletes or cars look like they're going very fast. It also can detract from the image if the subject is not intended to be moving, like a portrait or Landscapes,
the camera motion can cause the image to come out blurred. Fast shutter speeds can stop motion with sharp focus.
So using different variations of ISO, Aperture and Shutter speeds will help produce
different looks to your image.
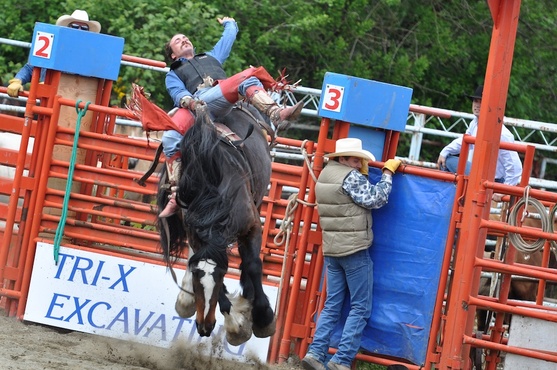
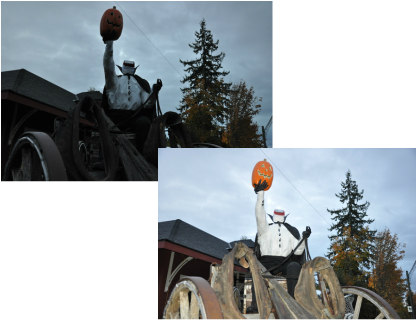
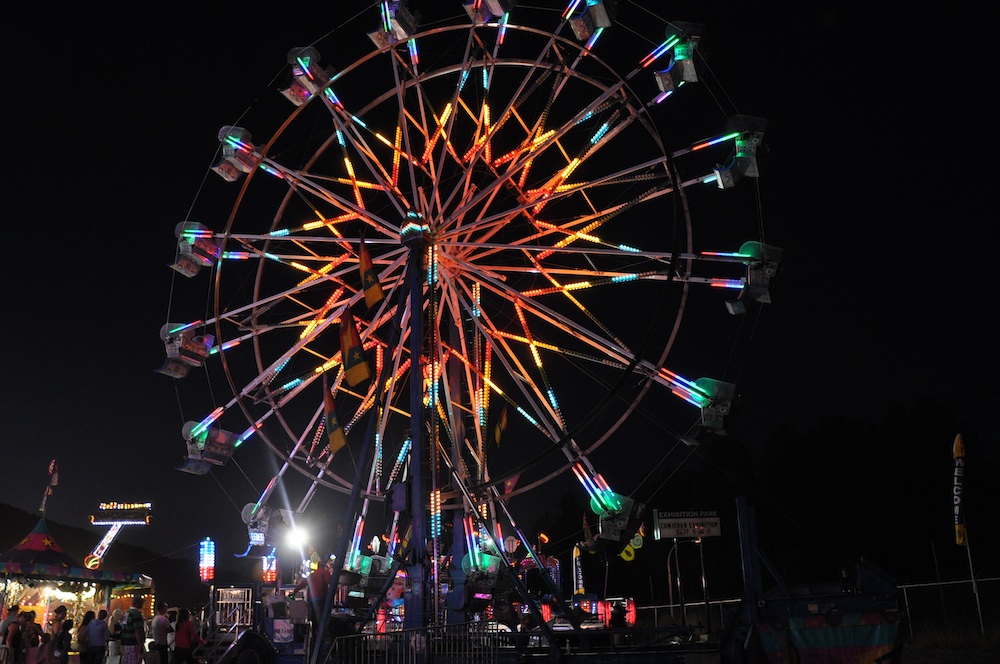
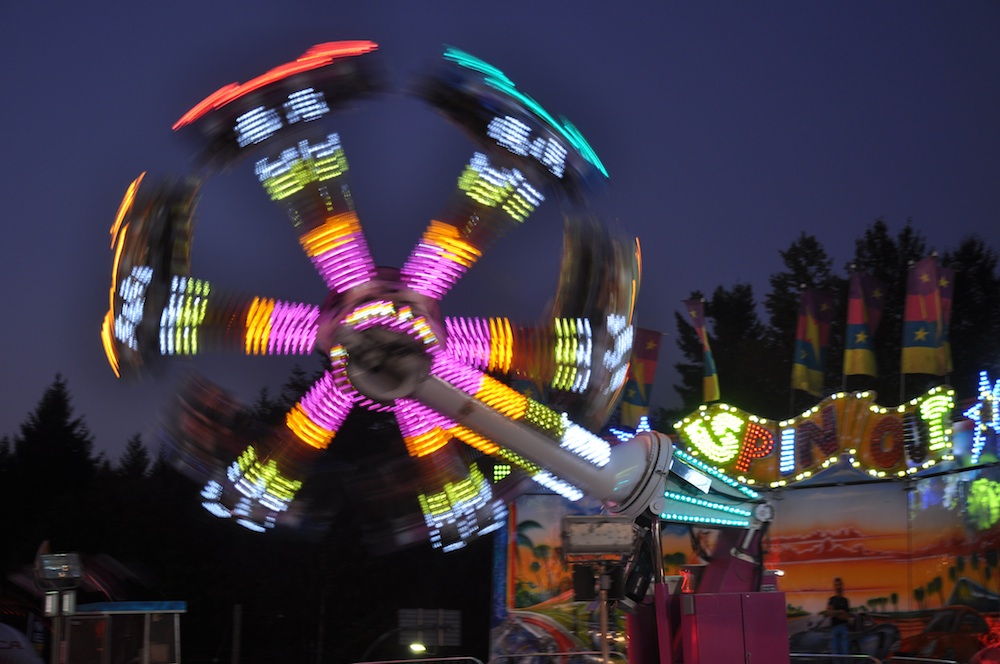
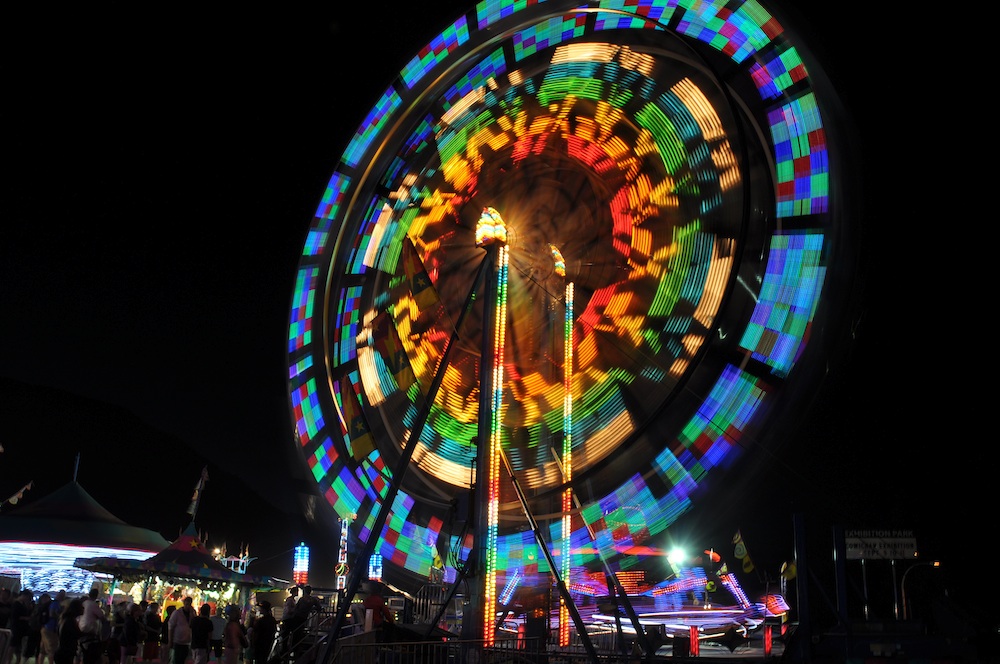
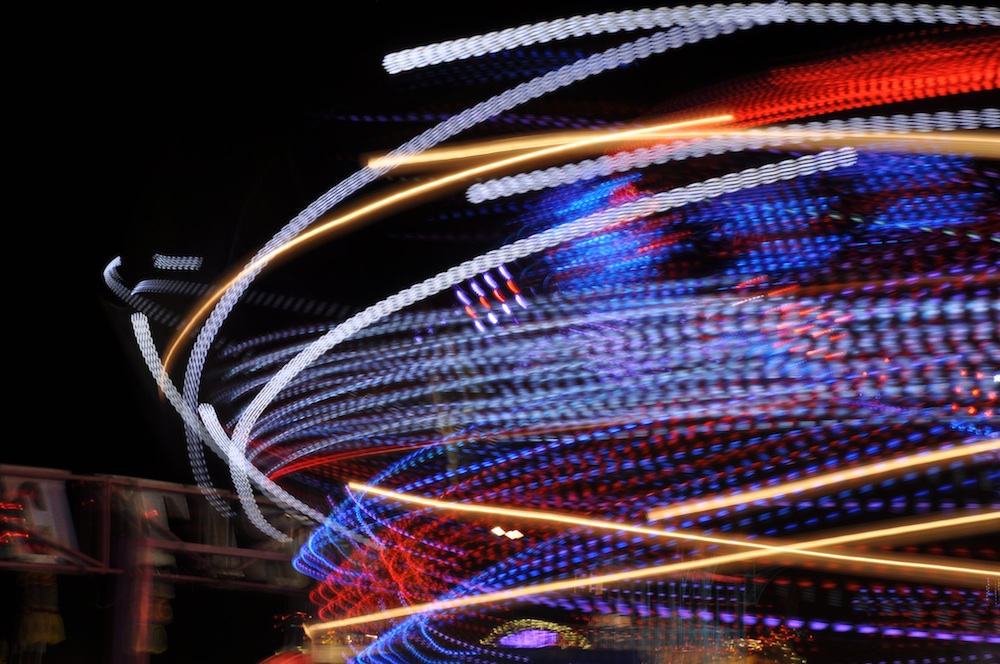
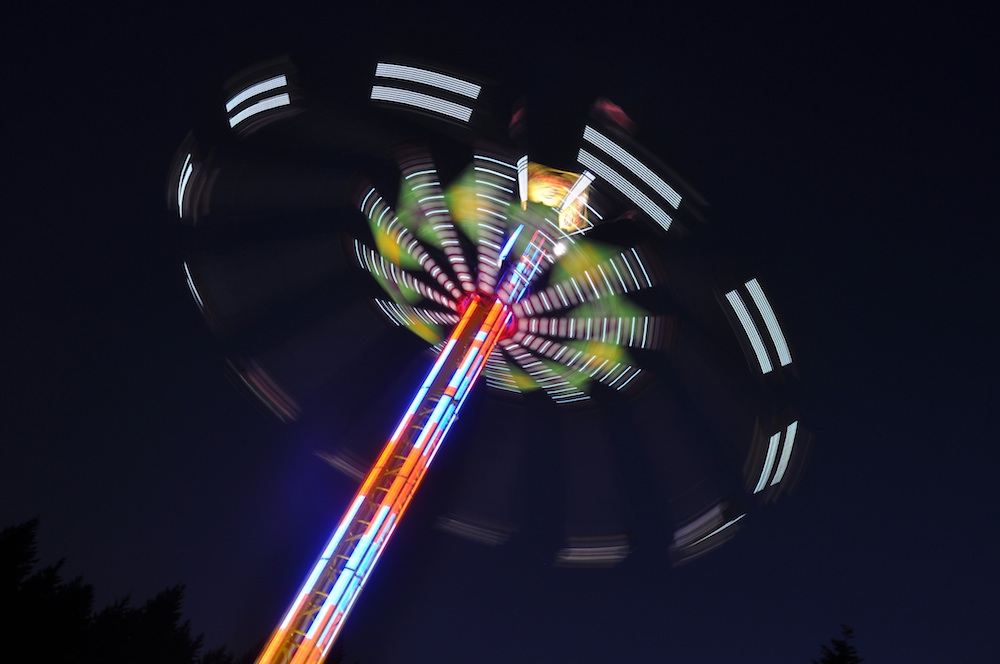
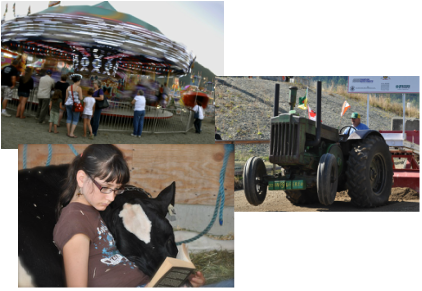
Motion Blur
is a tool used to emphasize a subject, here speed and a slow shutter are
used to produce the blur effect.
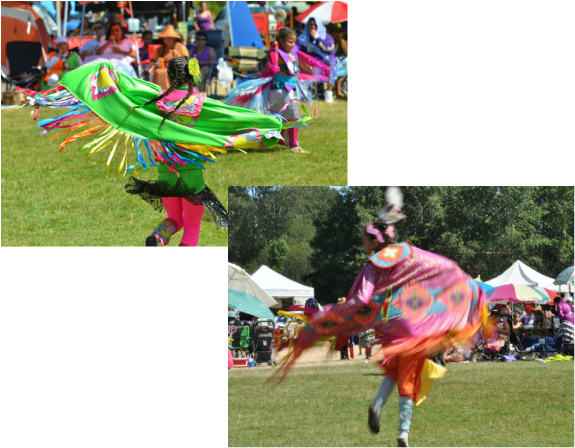
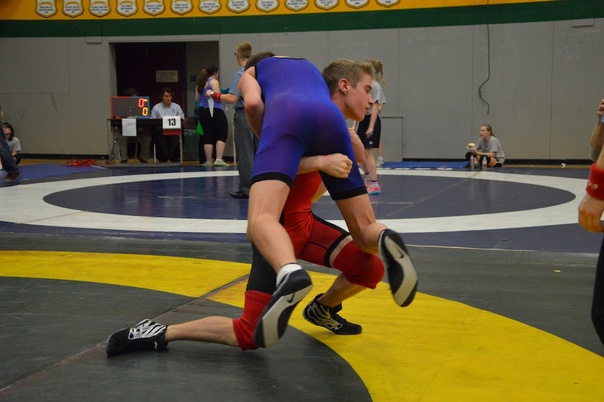
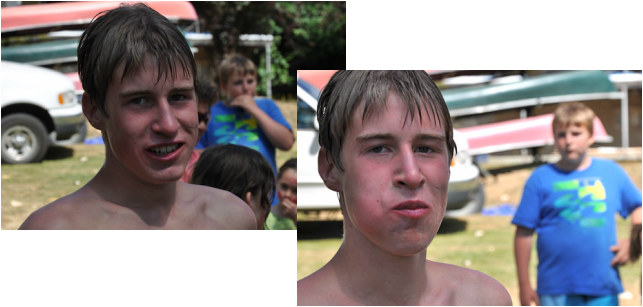
1/1600 sec vs 1/30th
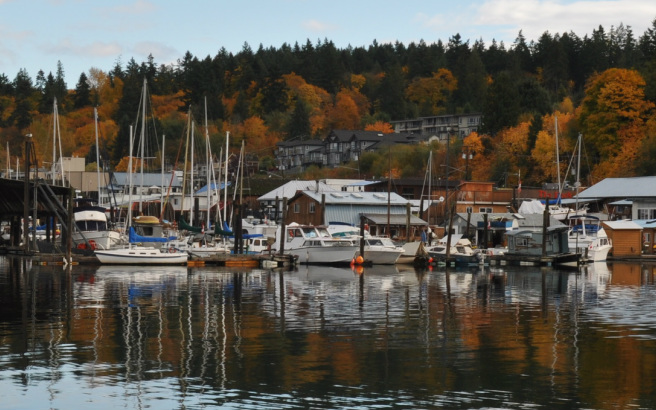
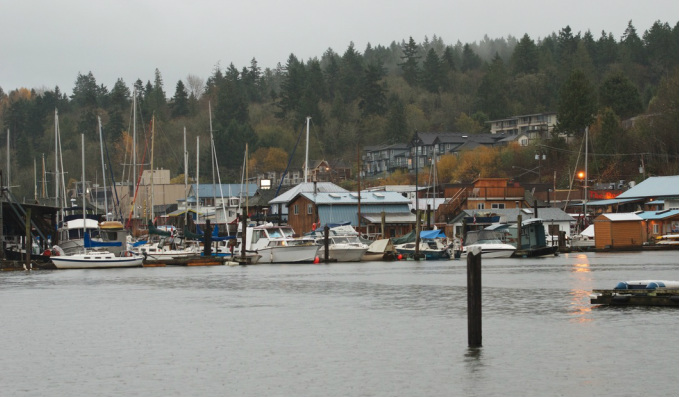
The top image was shot with a fast shutter speed 1/1600sec and freezes the moving image while the bottom shot
at a slower speed 1/30sec is open long enough for the subject to move and cause a blur in the image.
at a slower speed 1/30sec is open long enough for the subject to move and cause a blur in the image.
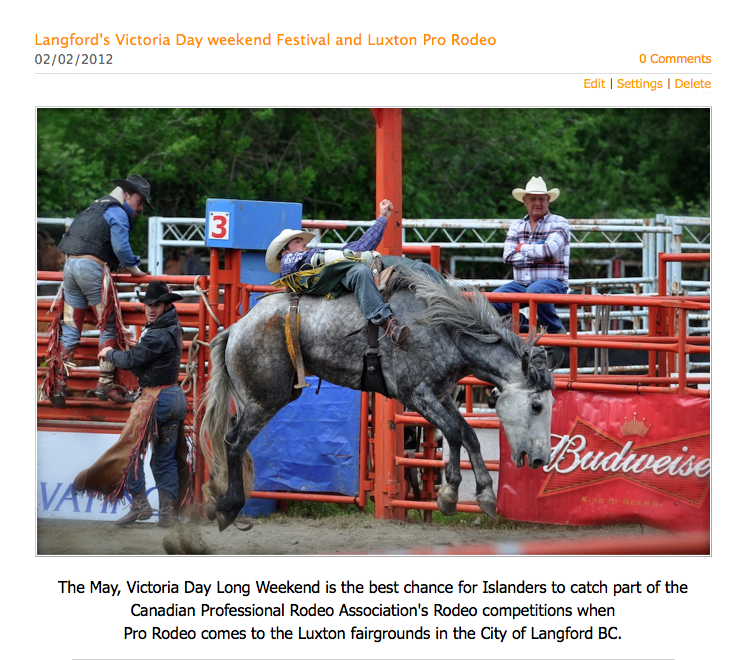
| We don't want to confuse camera movement with intentional motion blur. In this shot of race cars passing the motion blur is used to show the speed of the cars passing. Even though the shutter was 1/500 of a second the cars still produced a blur because of their speed. | 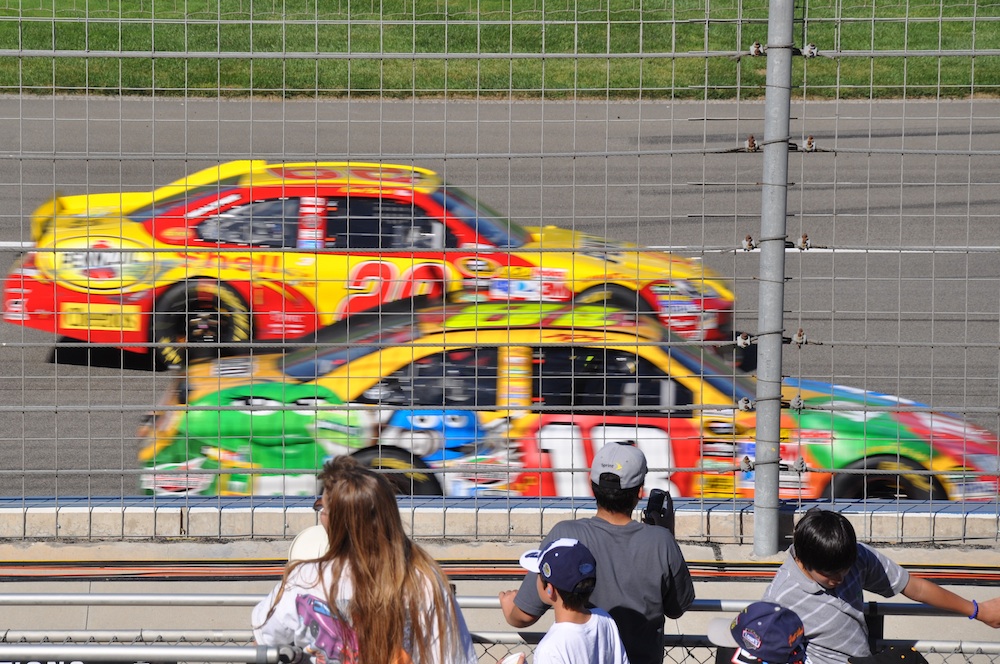
ISO 200 1/500 sec @ f11
|
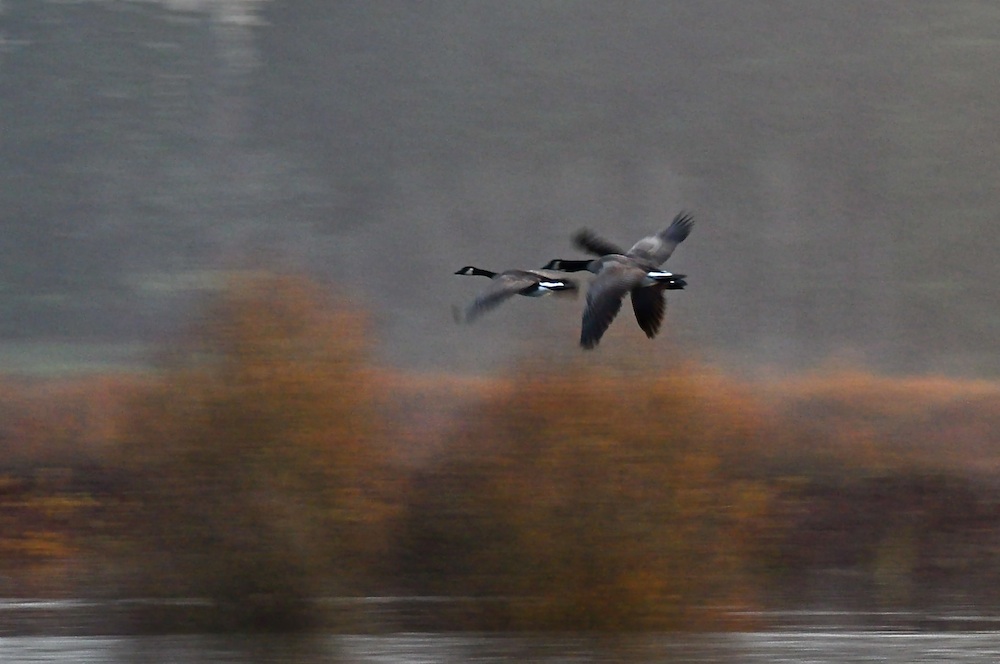
ISO 800, 1/50 sec @ f8
| The opposite was used here where the motion is produced by panning the camera with the subject blurring the background and leaving the subject in focus. This move takes some practice to pan with the subject but it looks great when it works. |
| This shot was in a darker environment so a higher ISO was used to allow hand holding of the camera wide aperture at 1/60th sec still acheive the motion blurr of the water from the fishes tail pushing it up stream. | 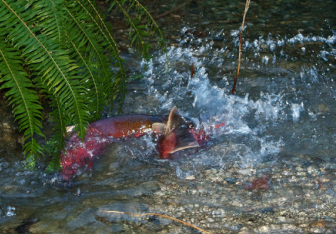
ISO 3200 1/60 @ f 7.1
|
ISO 800 1/3 @ f14
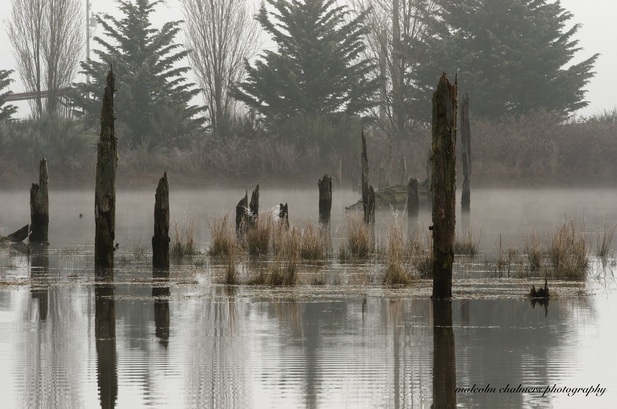
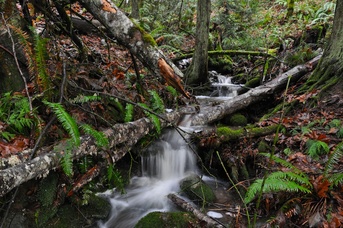
| Perhaps the most striking use of motion blur is moving water. A tripod or some form of stabilization will be necessary for these long exposure shots. Depending on the speed of the water the shutter and aperture will produce varying degrees of silkiness in the image. |
A camera operator with a steady hand usually "hand hold" a camera down to 1/30 sec, after that the shutter is open long enough that any movement of the camera, even the mirror going up, will affect the focus of your image. At
those slow shutter speeds you will need to steady the camera by placing it on something or by using a tripod.
Depth of Field
Also known as Depth of focus this is one of a photographers tools used to clearly point out the
important subject in your photo. A shallow Depth of Field is determined by a large aperture opening,
distance to subject and focal length.
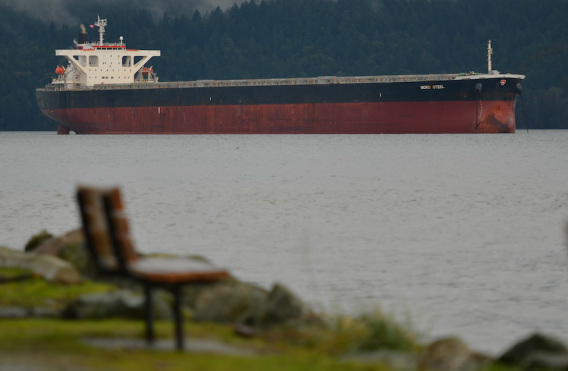
ISO 100, 1/160 @ f2.8 160mm
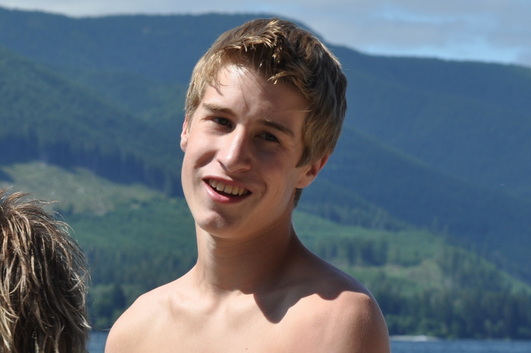
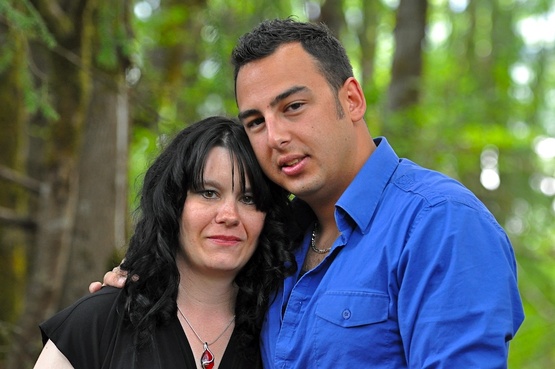
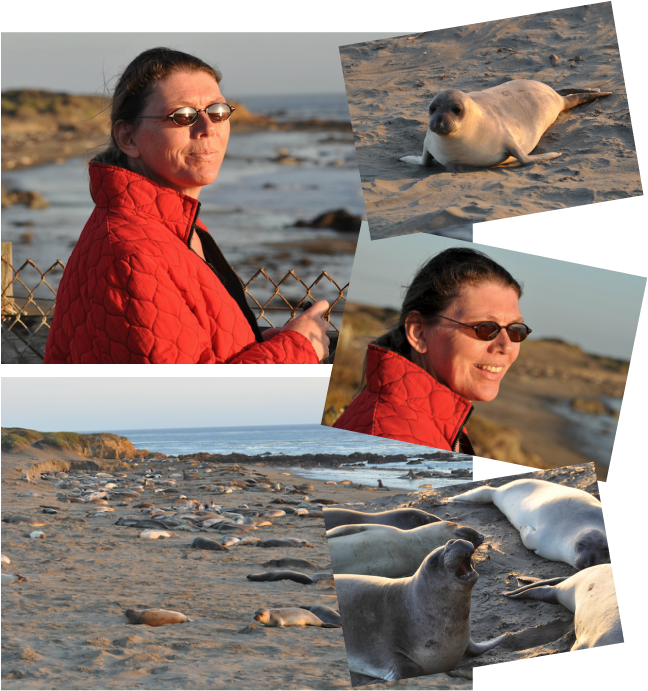
With any image you will want the most important subject in focus and the other less important objects
slightly to completely out of focus. Here are some simple ways to accomplish that. Here I am telling you what
I feel is most important in each image. Taking these photos I am quite a distance away zoomed in with
a wide aperture and fast shutter.
ISO 100, 1/160 @ f 2.8 160mm
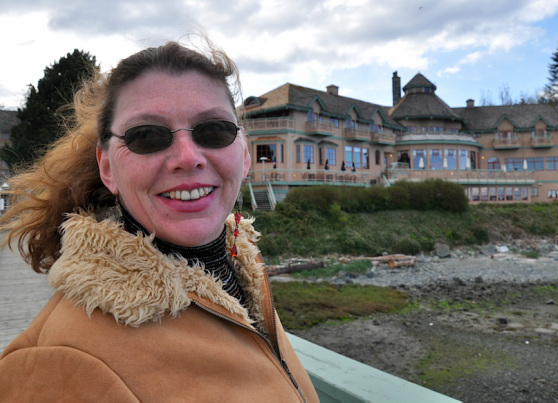
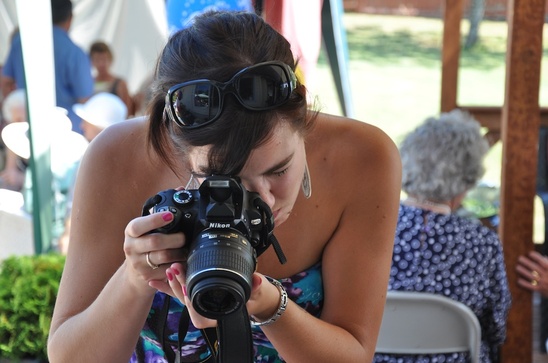
ISO 400, 1/100 @ f 5.3 - 34mm
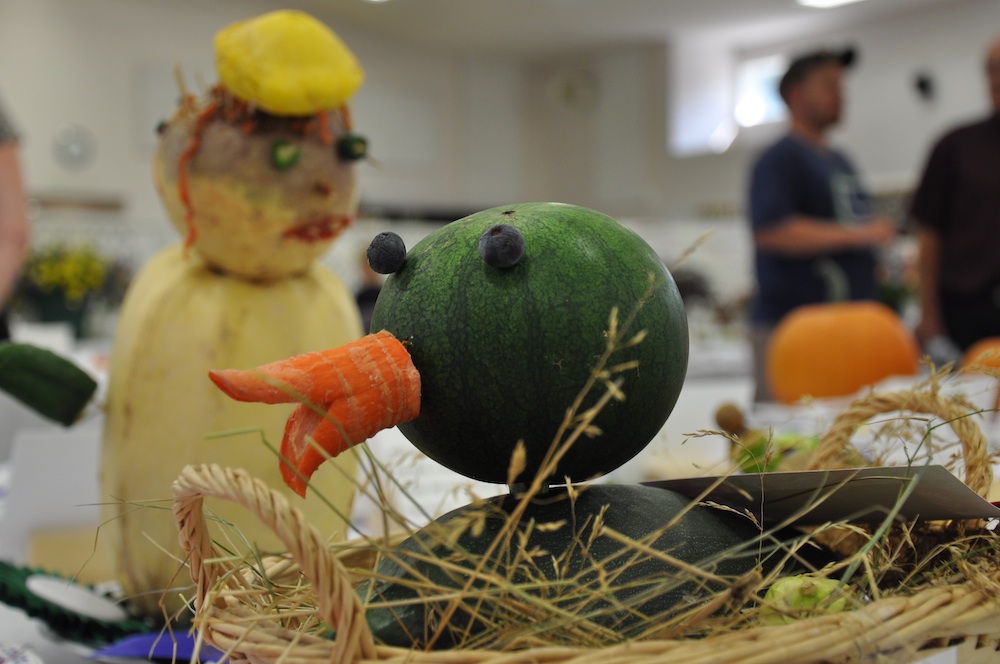
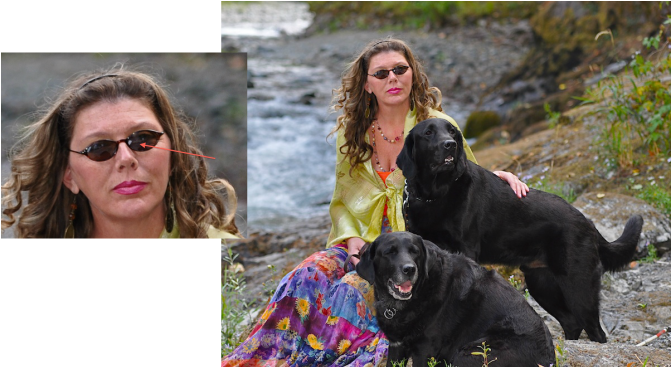
| Here we are physically close to the subject, aperture wide open in an indoor situations are used to achieve a shallow depth of field. The foreground and subject are in focus and the background is placed out of focus. |
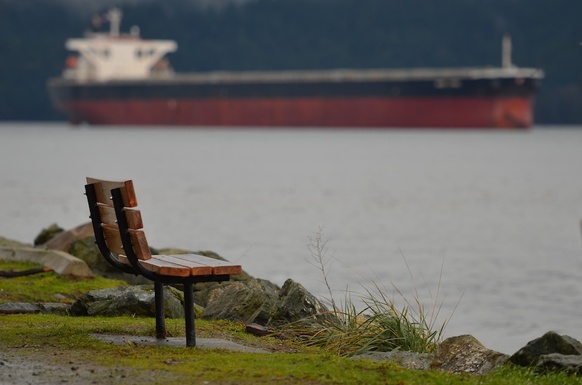
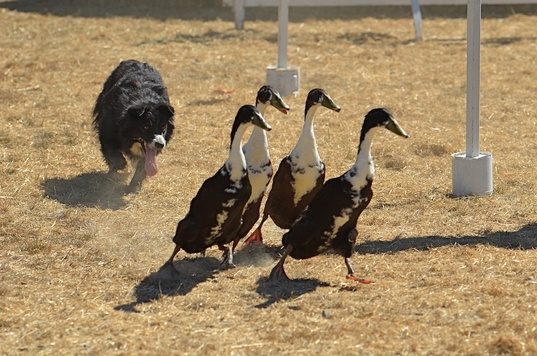
| In this shot the foreground is out of focus allowing it to frame the fish. The 450 ISO allows us to hand hold the camera at 1/30 sec, wide aperture was used to give the photo a shallow Depth of Field . | 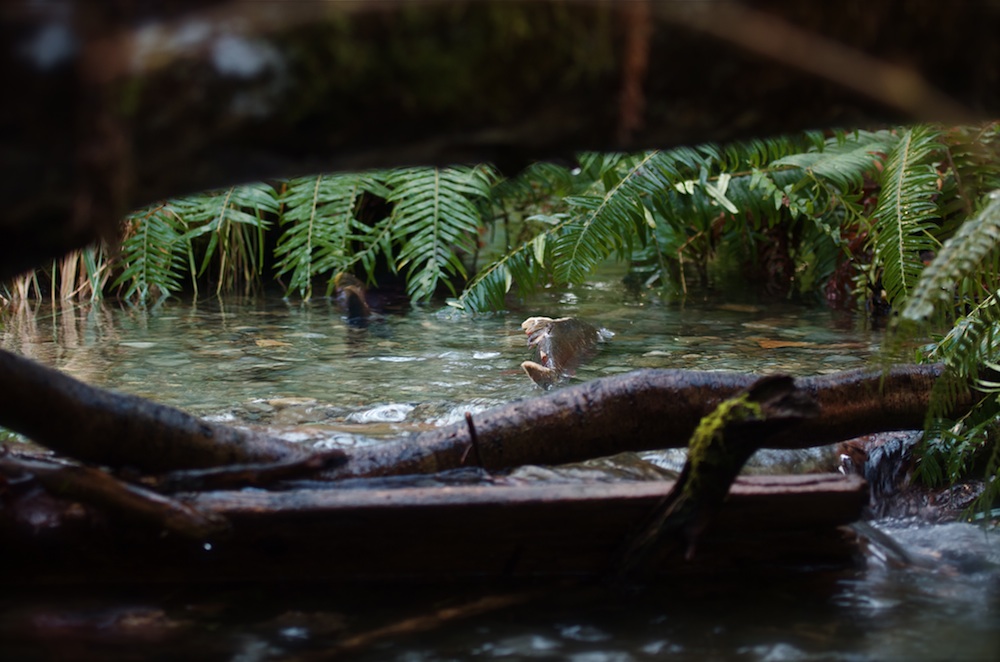
ISO 450, 1/30sec @ f 2.8
|
The blurry portion of an image is directly related to depth of field, which controls how much of the image is out of focus. A low aperture value produces short depth-of-field, and consequently a larger blurry portion of the image. Also, the shorter the focal length, the greater the depth of field. The last consideration in controlling depth of field is the lens-to-focal point distance. A longer distance between the lens and the focal point creates a greater depth-of-field.
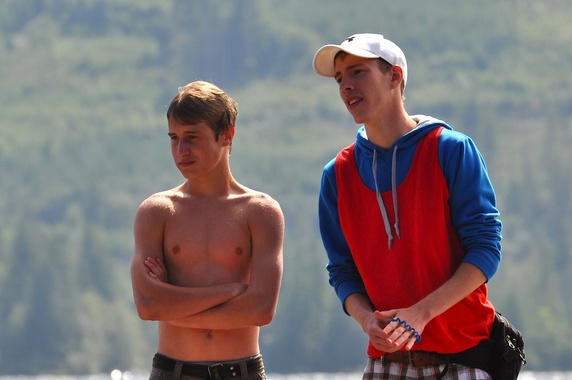
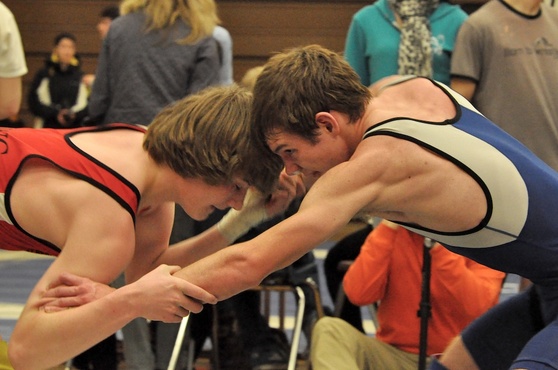
Sports and High ISO
ISO 3200 1/200 @ f4.5
If I am indoors shooting a sporting event I'll have low light and fast action. To capture fast action I will want a
wide lens to pull in more light, a fast shutter speed like 1/200 or 1/500 of a second. That means light will
have to come in fast, a medium aperture opening and a higher ISO will give me a wide depth of field. I will have
to 'bump up" my ISO to 3200 to allow me that faster shutter speed and medium aperture. By using these
variables I can achieve the best speed to shoot the image I want.
In low light situations if you want the best possible focus you can try not to shoot during fast action, this way you can avioding the motion blur associated with low light shutter speeds.
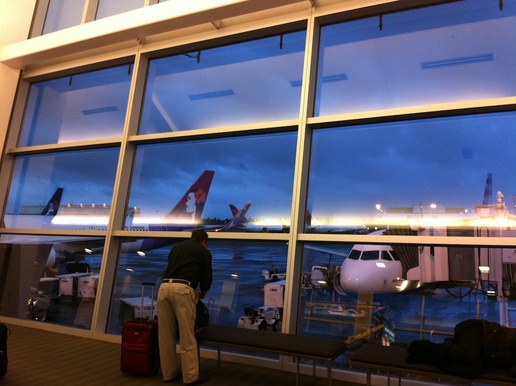
Sharp focus

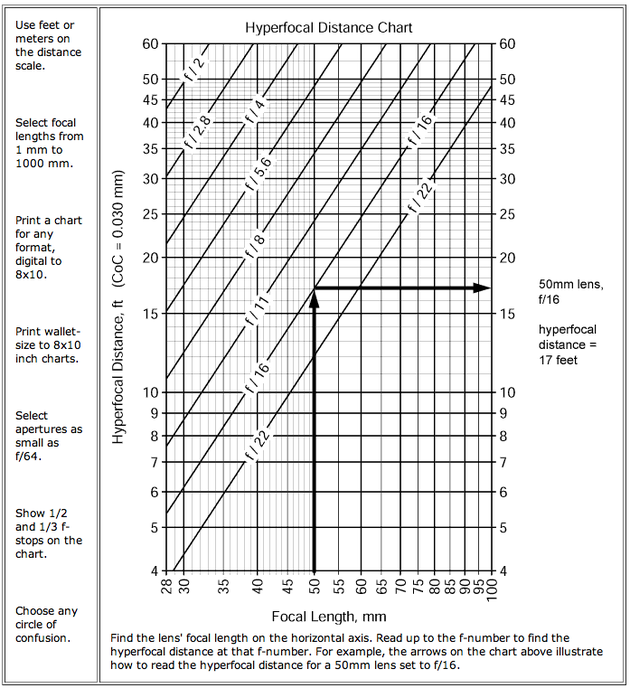
ISO 200, 1/125 @ f 5.6 hyperfocal distance would be aprox 15 ft
Hyperfocal Distance is used in landscape photos where everything in the frame is important.
Wide angle lenses (18 - 28mm) allow you to see foreground in focus as well as the background. In a
Landscape photo you want to be sure everything is in focus. To do this, you’ll have to
figure Hyperfocal distance. This distance is defined as the closest distance at which a lens can be
focused while keeping objects at infinity in focus as well. When the lens is focused at this distance,
all objects at distances from half of the hyperfocal distance out to infinity will be sharp.
For a more in-depth explination of how to calculate Hyperfocal distances visit
http://dofmaster.com/hyperfocal.html
This chart will show you approximate
Hyperfocal distances
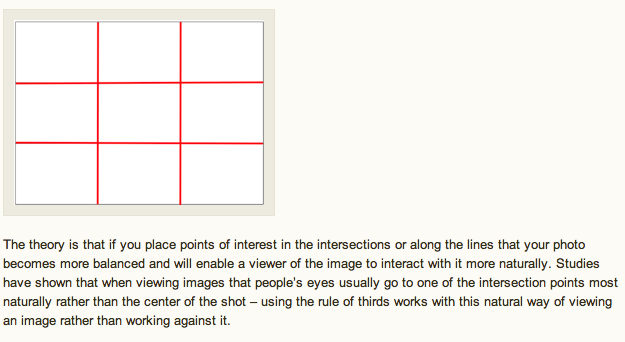
Lastly, when you have all your technical ducks in a row it is time to check your composition, horizons level,
eyes 2/3rd of the way up the photo, looking room on one side and important objects on intersecting lines.
Rule of Thirds.
This rule helps us choose where we place objects of importance in the frame.
But remember rules are made to be broken.
eyes 2/3rd of the way up the photo, looking room on one side and important objects on intersecting lines.
Rule of Thirds.
This rule helps us choose where we place objects of importance in the frame.
But remember rules are made to be broken.
http://digital-photography-school.com/rule-of-thirds

| 
|
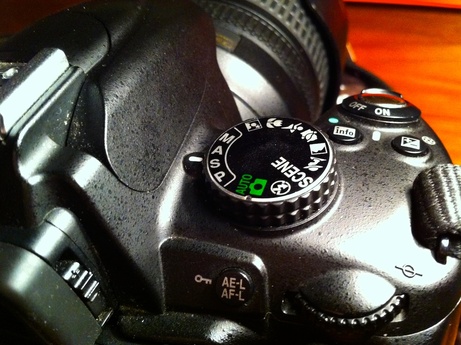
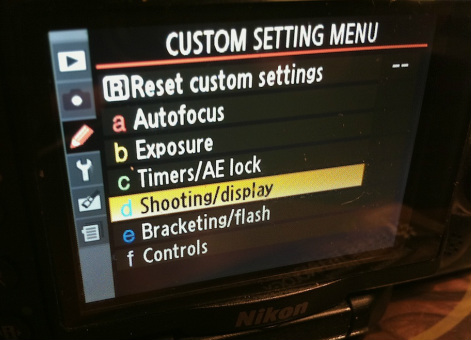
Cameras sometimes come with a grid pattern to help you compose your shots and keep your horizons level.
Check your camera menu to find out how to turn on this feature.
Check your camera menu to find out how to turn on this feature.
Of corse if you are using "Dutch" angles just adjust the grid in your head. . .
Happy Shooting!!
Happy Shooting!!
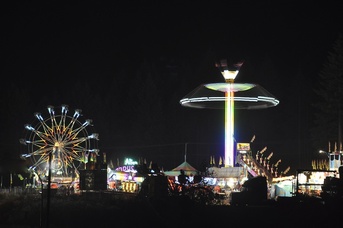
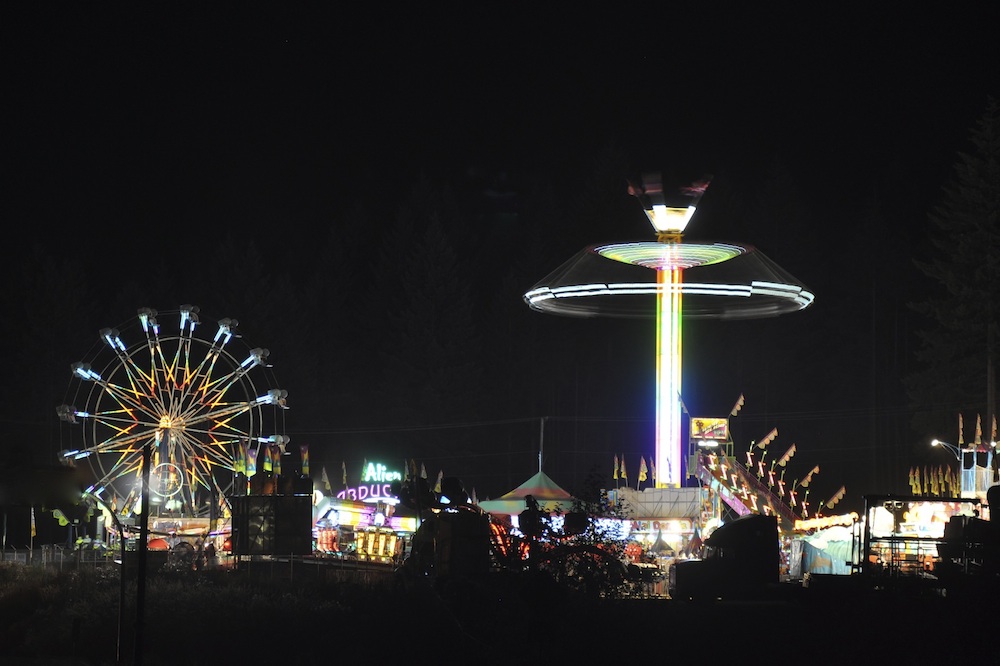
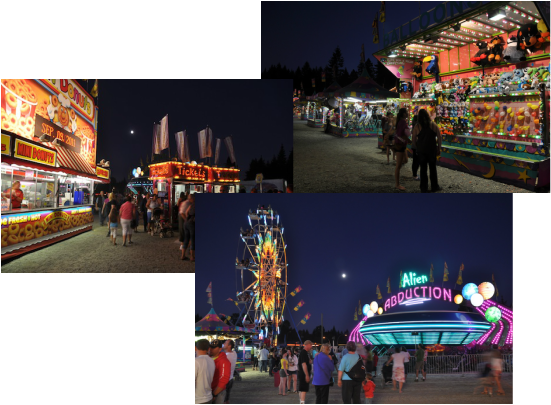
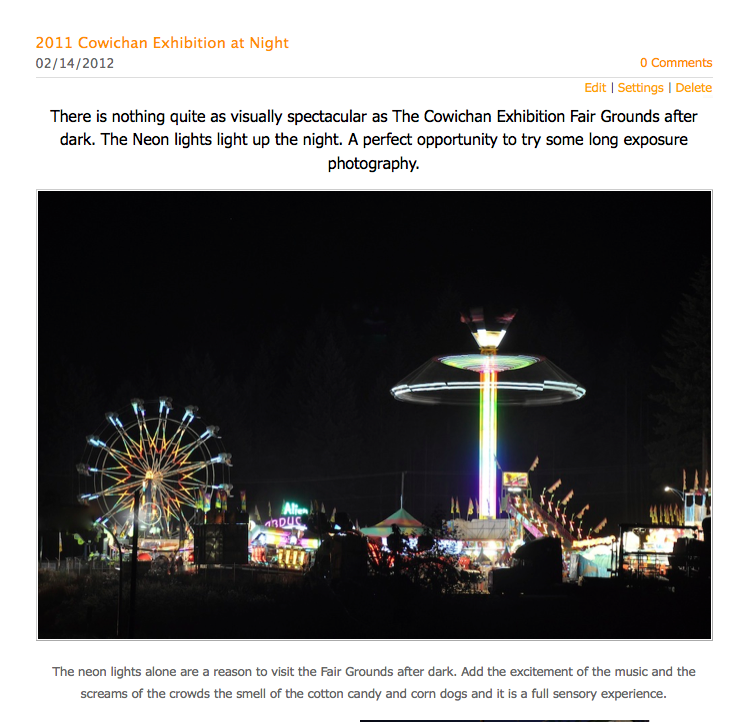
For more tips on shooting lights at night visit my photoblog. http://malcolmchalmersphotography.weebly.com/2/post/2012/02/2011-cowichan-exhibition-at-night.html


 RSS Feed